Natalie’s Introduction to Tatting
On Thursday night, Donna introduced me to the wonderful world of tatting. She taught me the basics: double stitch, picot, join, chain, and ring.
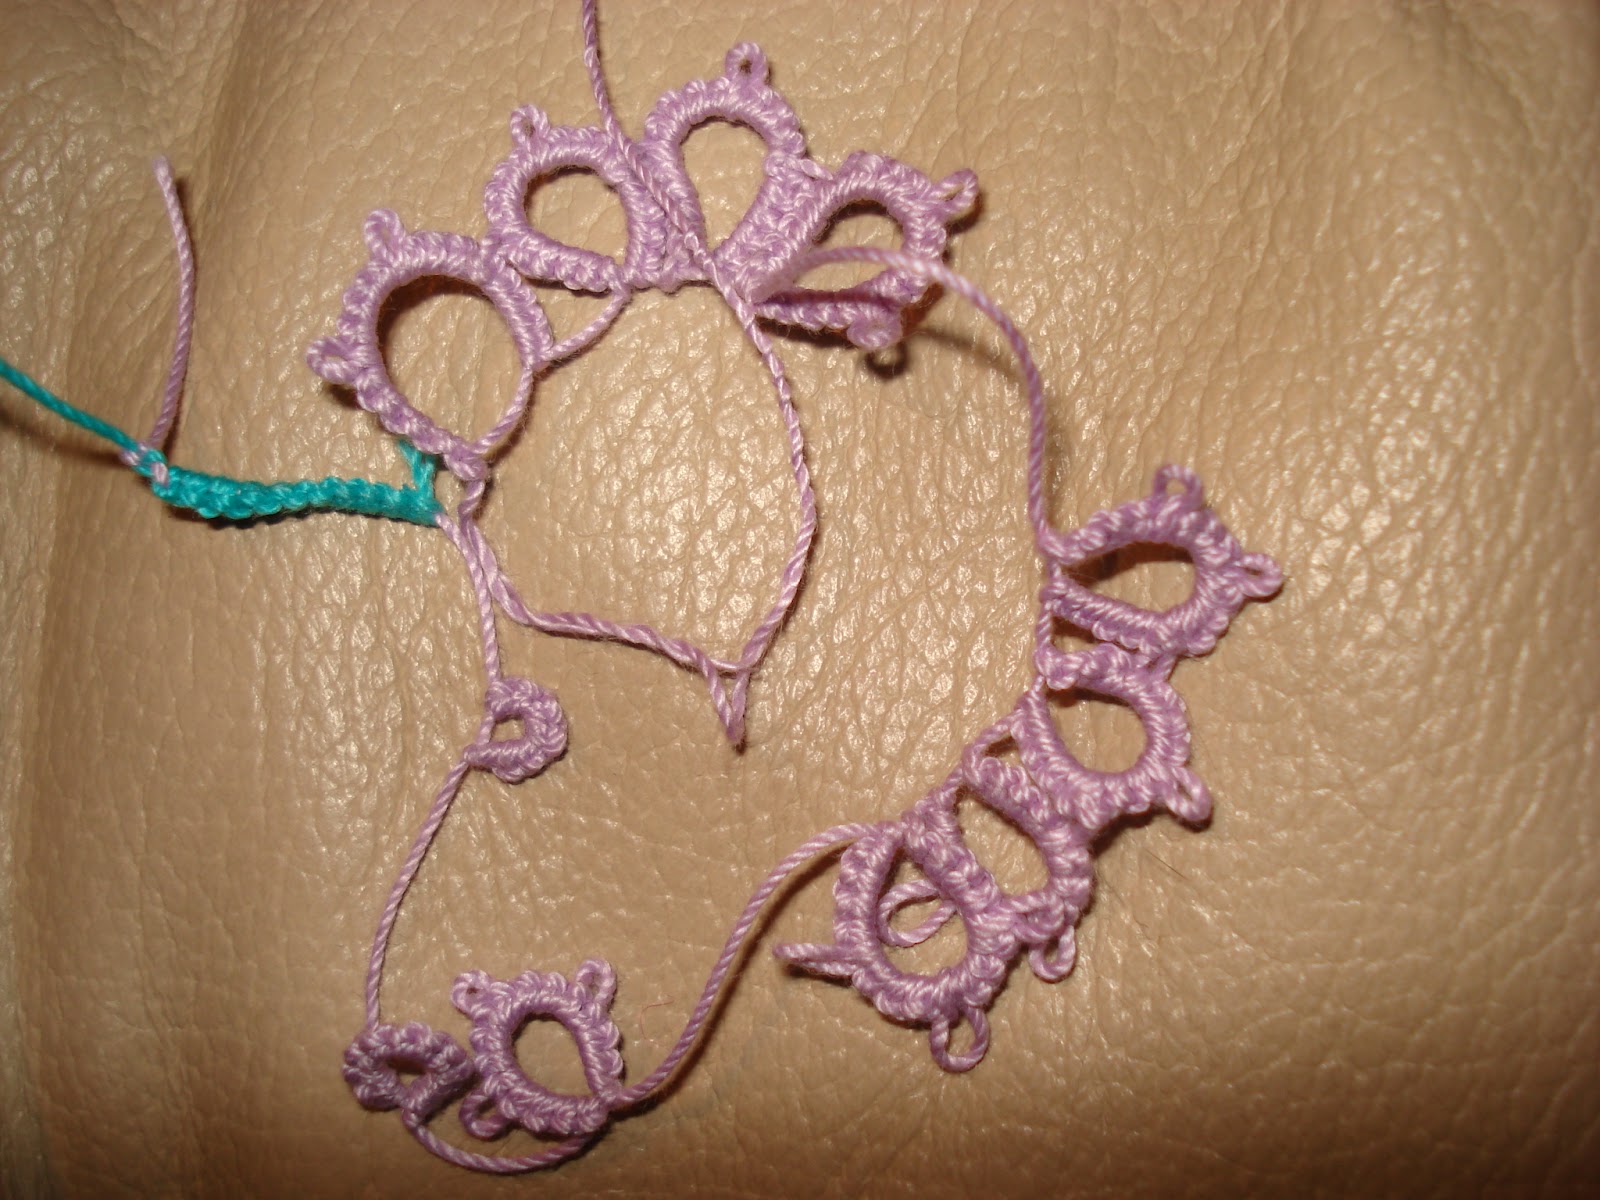 |
| My practice thread. It starts out with a chain of double stitches using two threads. The the work goes to a single thread as she taught me how to make rings. Then I learned how to add picots. After I had practiced two rings with picots side by side, she decided I needed to learn how to join rings through a picot. Then I started making a flower. I got partway around it and realized that my gap between petals was too large. So I abandoned the partial flower to start on my first project. |
This project was started and completed Friday morning. I had a lot of fun making it.
 |
| This is my first completed (minus tucking in the final strings) project. I needed youtube’s help to learn a few more steps for this project. |
When I first tried joining the last petal of my flower to the first petal of my flower it ended up twisted. So I undid my join and started hunting for a video. I found one that showed me how to make a folded join to complete a circular motif. I also learned how to add a bead to the center of a tatted ring, which I practiced at the end of my bracelet chain. I also stumbled across a fantastic way to hide tail threads, unfortunately, it was after I had already finished my bracelet. So until I get around to buying a special needle, my tails will remain loose on this one.
 |
| Close up of the flower details. |
 |
| Another shot of my first complete flower. |
On to project number two, which I started Saturday. This project uses the pattern found here, except that I’ve added an extra picot on the two outer rings of the clover.
 |
|
| Project #2 – Rambling Flowers Pattern |
I started this project with two threads and used the thread hiding method found here. I also learned how to open a closed ring, because I accidentally closed the center ring of the second clover a picot and five double stitches sooner than I should have. I wouldn’t want to make a habit out of reopening closed rings, but it wasn’t as painful as the tutorial made it sound.
I am very excited to work on this project some more this morning and, after church, I will be meeting with the gal that taught me to show her my progress and to tat some more.


